Artwork Photography
Photograph artwork straight: the 4×4 grid method
A repeatable method for shooting paintings, prints, and framed art with a phone — using a 4×4 grid, the right distance, and one trick most people skip.
A few weeks ago a customer wrote in: he was disappointed that Griddr's built-in grids were too coarse for shooting his paintings. The rule of thirds wasn't fine enough to align edges. He needed something denser. Something rectilinear. He was right — and the fix is a single grid you can build in 30 seconds.
The 4×4 method below is what I use to photograph framed work for prints and listings. It's not glamorous. It works.
Why rule of thirds fails on artwork
The whole point of photographing a painting is the painting. Not the wall. Not the frame's negative space. The viewer needs to see exactly what the artist made — straight, square, edge-to-edge.
Rule of thirds gives you four lines. The frame's edges land somewhere between them, somewhere you have to eyeball. That's the failure mode: you eyeball, you tilt the phone half a degree, the right edge ends up two pixels longer than the left. Now the rectangle in your photo isn't a rectangle anymore. Your print shop will scream.
The 4×4 grid
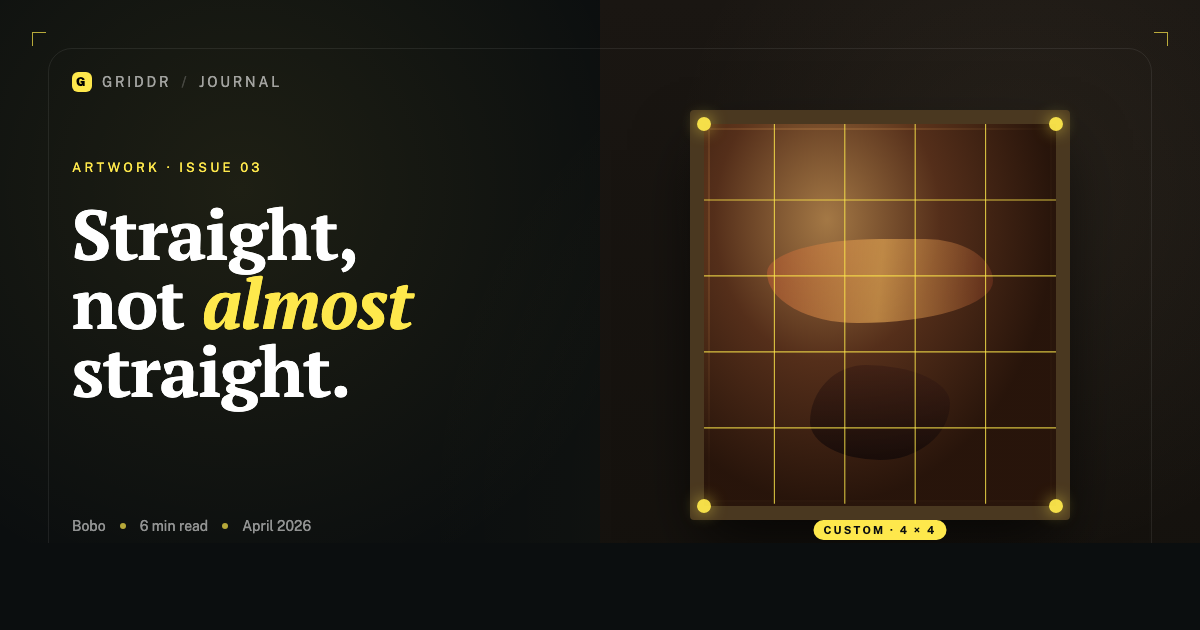
Four vertical lines, four horizontal lines, evenly spaced. That's it.
Why four? Because most framed art has a meaningful edge or detail near the 20%, 40%, 60%, 80% marks. The 4×4 grid drops a line on each of those marks, plus the center, giving you eight reference points to check against the painting's edges. If all four corners of the frame land on the corresponding grid intersections, the photo is square.
In Griddr, you can build this in the custom grid editor:
- Open the camera, tap the grid icon, swipe to Custom.
- Tap New grid.
- Add four vertical lines at 20%, 40%, 60%, 80%.
- Add four horizontal lines at the same percentages.
- Save as
Artwork — 4×4.
You now have a tool the default grids don't give you. Tap it any time you're shooting flat work.
Square the rectangle in the viewfinder, not in post.
The technique that matters more than the grid
The grid is half the work. The other half is where you stand. Three things will ruin a flat-art photo even with a perfect grid:
1. Distance. Get back. Shoot from at least 1.5× the painting's longest side away. Closer than that and you introduce barrel distortion — the edges of a perfect rectangle will bow outward. With a phone's wide lens this is brutal at close range. Step back two more steps than you think.
2. Height. Your phone's lens needs to be at the center of the painting's height, not at your eye level. If the painting is hung at average gallery height (~1.5m to its center), squat down. If it's a small piece on a desk, get a stool.
3. Square to the wall. Stand directly in front, not off to the side. The slightest angle keystones the rectangle — top wider than bottom, or vice versa. Use the 4×4 grid to verify: the painting's vertical edges should be parallel to the grid's vertical lines, not diverging.
The trick most people skip
Reproductions of artwork need consistent color, and the color will lie to you under tungsten lighting. Two practical fixes:
- Shoot in indirect daylight when you can. A north-facing window between 10am and 2pm gives the most neutral light a phone will see. Don't shoot in direct sun unless the artwork is glass-protected and you want the glare.
- Hold a sheet of plain white printer paper next to the painting in your first shot. Use that frame to white-balance the rest of the series in any editor (Photos, Lightroom, Snapseed). Skip this step and your reds will lean orange and your whites will lean cream.
I learned this the hard way photographing eight oil paintings for a friend's show. Shot four under tungsten, four under daylight. Spent an hour in Lightroom trying to make them match.
Centered, not just straight
Straight is alignment. Centered is composition. They're not the same. Once the painting is square in your viewfinder, the next question is: is it in the middle of the frame, or do you want some breathing room?
For an archival shot — print store, insurance documentation, online catalog — center it hard. Equal margins on all four sides. The 4×4 grid makes this trivial: the painting's frame should be inset evenly between the outer grid lines on all sides.
For an editorial shot — a piece in context on a wall, in a room — break that symmetry on purpose. Use the rule of thirds for the frame's center, leave a sofa or a doorway in the foreground.
When to upgrade the grid
The 4×4 is great for medium and large paintings. For small framed work, miniatures, or anything where you want the painting's center to land exactly at a point, build a 4×4 with a center cross overlay — add a horizontal and vertical line at the 50% mark. You now have nine reference intersections instead of four corner ones.
For artwork with strong internal symmetry — a religious icon, a coat of arms, a mandala — drop a centered circle or oval over the 4×4. That's a grid you'll never find in a default camera app.
The 4×4 grid is one of those tools that takes a minute to build and saves an hour every time you use it. Most people never build it because it's not in the default camera. That's the gap custom grids fill.
Related reading
Shoot this with Griddr
Get Griddr — free on iOS & Android